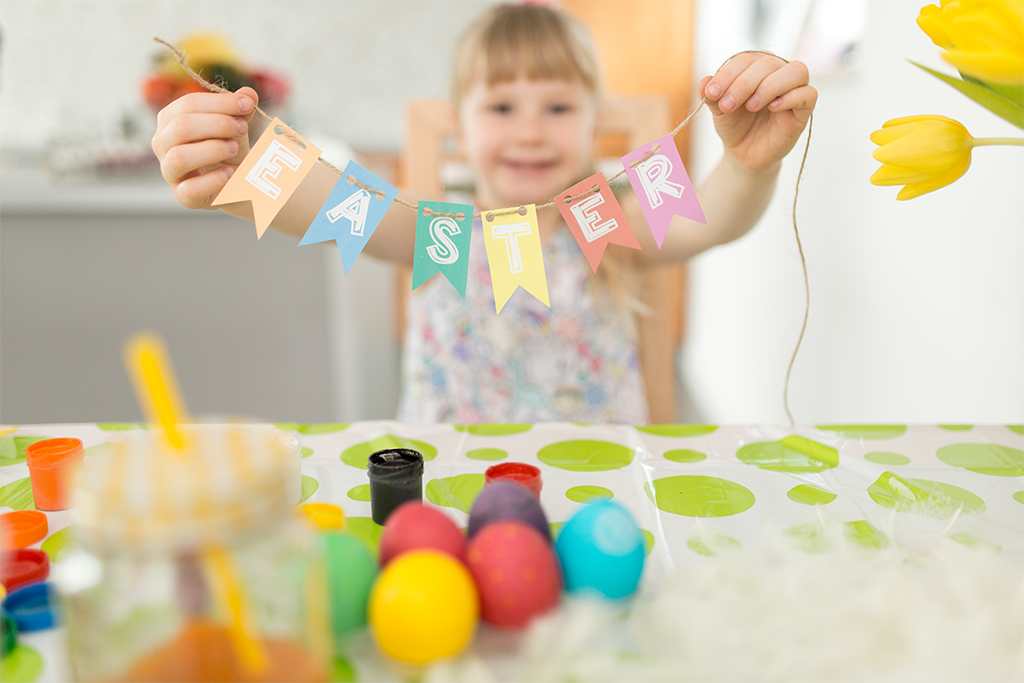
The Easter holiday season is a wonderful time to spend precious moments with little loved ones. A fun way to do it? Creating themed arts and crafts — with an eco-friendly twist. We have collected great ideas with materials you can find at home, whether in the craft box or your backyard. Whether you plan to reuse or reimagine, these activities will have you and your family enjoying bonding over Easter bunny fun!
Arts and crafts for all the holidays
Not only are we excited about making arts and crafts in time for an eco-friendly Easter, but we enjoy sharing all the ways you can bond with family and friends. If you are a lover of crafting, be sure to explore our other resources for our festive display ideas as well as our activity guide for stay at home activities. The holiday provides great opportunities to explore new ideas and test your skills, while laughing all the way.
On your marks, get set, craft
Try these top three ideas perfect for young children, but be sure to use supervision when using tools like scissors and hot glue guns.
Pine cone bunnies
This fun craft will have kiddies connecting with nature, enjoying and creating art, and developing fine-motor skills. This project is a sweet little addition to your home just in time for Easter and Earth Day soon after.
What you’ll need:
- pine cones
- googly eyes
- wool or craft felt, or craft paper (brown for fur, pink for the inner ear)
- hot glue or tacky craft glue
- wooden beads
- twine
- pompoms
- scissors
How to craft it
- First, start with the ears. Using either the wool, felt or paper, trace and cut out bunny ear shapes proportionate to the size of your pine cone. Use a larger size for the brown material and then a smaller but similar shape using the pink material.
- Then, glue a pink cut out onto the brown cutout – repeat to make two identical ears and let them dry.
- Next, the nose. Slip a short length of twine through the wooden bead and secure with glue. (Once the glue is dry inside the bead, slightly untwist the twine to separate into ‘whiskers’).
- Lastly, the final assembly. Glue the googly eyes, ears, nose, and whiskers onto the pine cone. Then, glue a pompom onto the back of the pine cone to make a bunny tail.
Recycled toilet paper roll stamps
A fun and easy craft that is perfect for toddlers or preschoolers. The stamp is great to make little prints for greeting cards, or also large prints using butcher paper to design homemade wrapping paper or paper tablecloths for Easter brunch.
What you’ll need
- 3 toilet paper rolls (plucked free of paper)
- a glue gun
- paper
- paint
How to craft it
- Take one toilet paper roll and pinch one side to a sharp point, length wise, achieving a teardrop shape.
- Repeat this step to a second roll to produce the ears.
- Keep the third toilet paper roll as is (the circle will be the round face for the stamp).
- The last step — glueing. Using a hot glue gun, stick the two ear rolls together. Then glue them to the top of the last round toilet paper roll. Make sure that all of the ends line up together on at least one end (an even stamping side).
Eco-friendly wreath for Easter
The Christmas wreath is a well-known icon of the holidays. You’ll find it on greeting cards, in movies and a wonderful sight for those returning home. We’re taking that traditional décor piece and adding a spin. Think Easter — but with an eco-friendly approach. The activity is a fun way to get creative with little ones and start an Easter tradition.
What you’ll need:
- Recycled cardboard (large pizza box suggested)
- A magazine, newspaper or old book pages (try to use pages with text)
- Scissors
- Crayons
- Glue
How to craft it
- Take your cardboard or pizza box and trace a large circle.
- Make a smaller circle inside the larger circle, to construct a thick hoop shape.
- Cut the hoop out. (This will be the base of your wreath).
- Take your pages and cut them into thin strips. Try crinkling your strips to get a nest-like texture once glued on to the cardboard.
- Then, glue the page strips onto the wreath cutout. Tip: Glue in layers. Let one layer dry thoroughly and then add another layer.
- While the page strips are drying, have the kiddies draw, colour and then cut out some eggs. Try different sizes, colours and designs of Easter eggs for a fun display.
- The last element — choose a phrase! Write and cut out a greeting to put on your wreath, like ‘welcome’, ‘Happy Easter’, or ‘bunny crossing’.
- Once finished with the greeting, glue the eggs and phrase cut-outs onto the wreath.
- The final touch — hang your wreath on your front door, your wall, or above your mantle. It’s a perfect holiday piece for either indoor or in an outdoor sheltered overhang to spread holiday greetings.
Hop on over to your arts and crafts table
May your Easter holidays get filled with fun personalised arts and crafts, giggles and great memories you’ll have for years to come. For more information on how you can enjoy self-catering accommodation for your next holiday, contact us.
